
Are you like me, who loves the freedom and fun of riding a moped? But, let me be honest with you—however fun these vehicles are, their batteries can be annoying to the very least.
If you have decided to visit the Hawaiian islands, one of the best ways to explore them is by riding on a moped or a scooter. These two-wheelers, give you just the right freedom whether you’re visiting Waikiki Beach in Oahu or scooting your way to the Big Island.
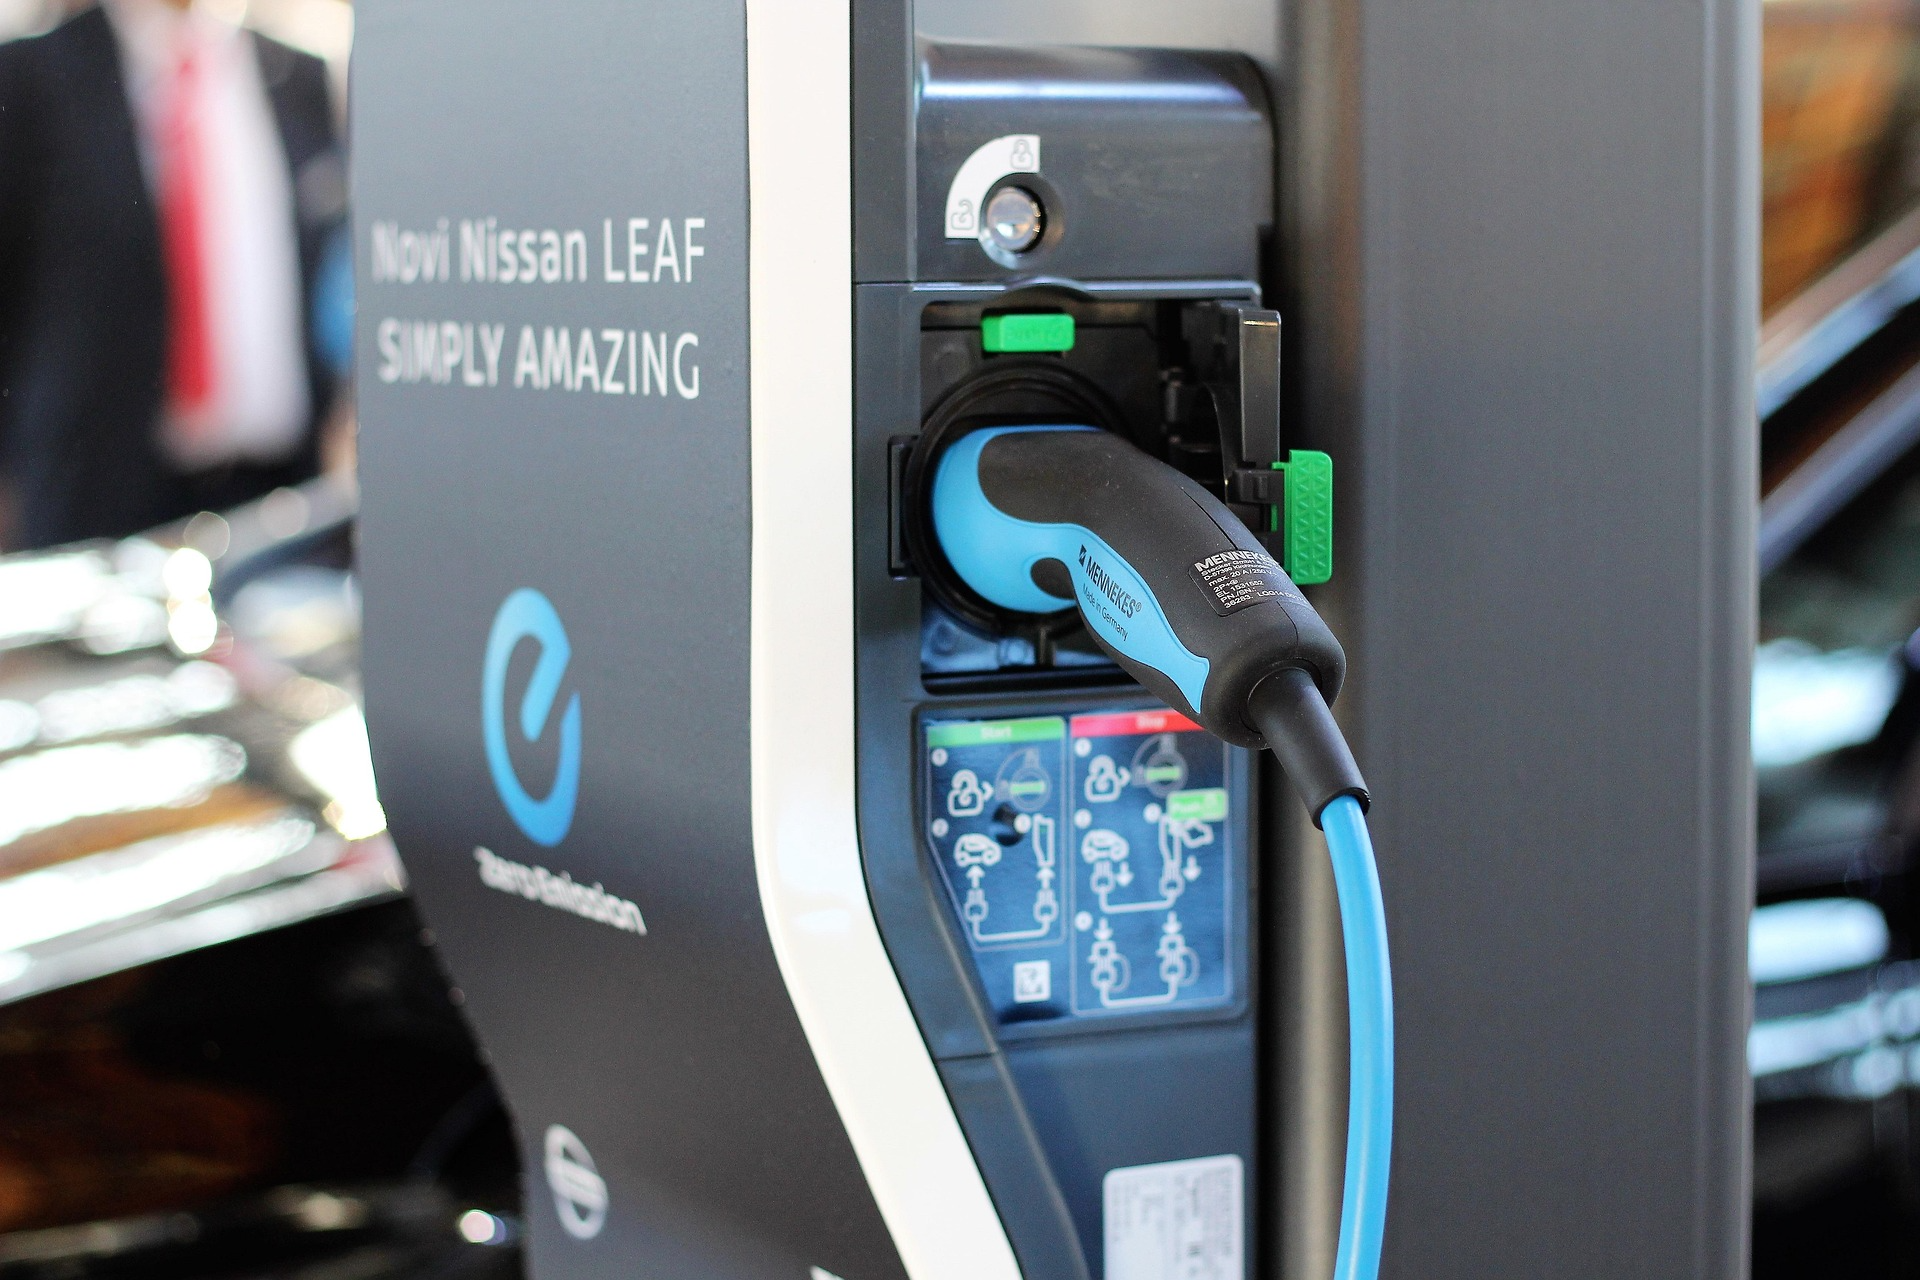
Mopeds, just like any electric scooter, depend on their batteries for power. Lithium-ion batteries are being increasingly supported on modern mopeds, because they are light, have a high specific energy, and have a long operational life.
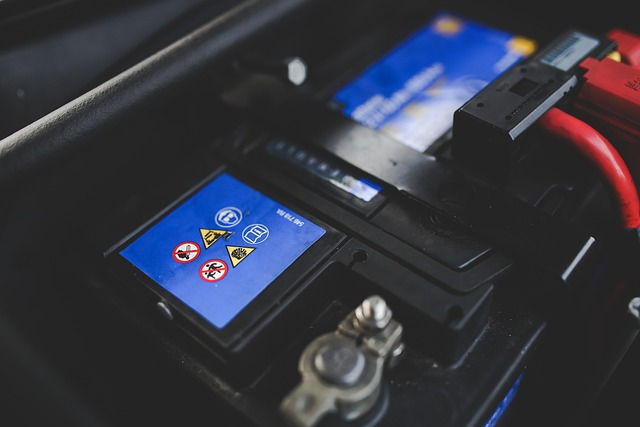
Coming to the old models, they, still use lead-acid batteries and require a different handling and charging process. Hence, it is essential to know what kind of battery is powering your moped for proper charging and servicing.
Whether you’re dealing with a dead battery or just want to keep things running smoothly and want to know how to charge a scooter battery, I’m here to share my easy guide on how to charge your moped battery. Let’s dive in!
Getting to Know Your Moped Battery
First things first, it is very important that you know which kind of battery is fitted in your moped. If you have a newer moped model, you can expect lithium-ion batteries. Apart from the batteries being lightweight, the mopeds are lightweight too, and also have a good cycle lifetime.
However, an older model will have a lead-acid battery. These are also heavy compared to the new models which means you need to take more care.
Apart from knowing what kind of battery your moped has, it is also essential that you use the correct charger to charge the battery.
Types of Moped Batteries
I’ve been mentioning this throughout, but you know, it’s quite important to mention some things regularly. So, there are two types of moped batteries— lithium-ion and lead-acid batteries.
Lithium-Ion Batteries
- These are super light and compact.
- They have high energy density means they pack a punch.
- With the right care, they can last for years.
Lead-Acid Batteries
- These are bulkier and heavier.
- Not as efficient as lithium-ion.
- They need more maintenance and specific charging techniques.
- Preparing to Charge Your Battery
Before we get into the nitty-gritty of charging, make sure you check your moped’s manual or look up the specs online to figure out which type you have.
Preparing to Charge Your Battery
During battery charging, I take care of my safety. Here’s what I do:
Turn Off the Moped: Seriously, don’t forget this step! Also beforehand, make sure the ignition is off, and the key is out of the vehicle.
Wear Protective Gear: I keep gloves and safety glasses around in case things get too messy.
Choose a Good Spot: I make the effort to fully charge my battery in a ventilated room in order to avoid gas buildup.
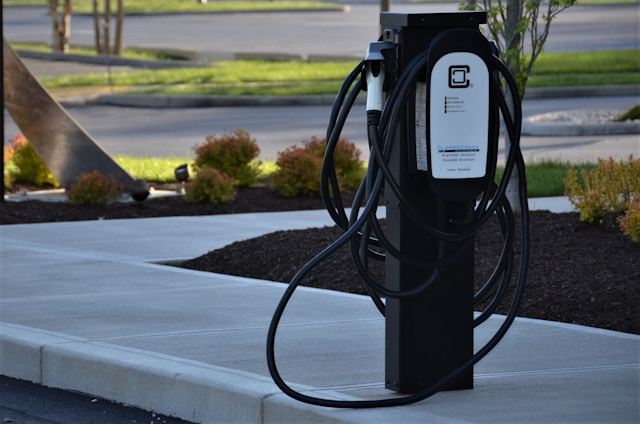
Setting Up Your Charging Station
Once we’re good with good safety, it’s time to find the perfect spot to recharge the battery.
Well-Ventilated Area: Look for a place that’s well-ventilated. I avoid enclosed spaces.
Dry Surface: The place you plan to charge your battery should be dry to prevent electrical issues.
Avoid Extreme Temperatures: Try charging the battery away from direct sunlight or extreme cold. Fast charging in direct sunlight or the cold could affect battery performance.
Charging Methods for Moped Batteries
There are a couple of different ways to top off your moped battery, and I’m going to walk you through each of them.
Method 1: Using a Smart Battery Charger
This is my preferred approach because it is safe and effective.
Here’s How I Do It:
If required, I detach the battery, which is usually underneath the seat. I begin by disconnecting the negative terminal – and then the positive one.
During charging, I always connect the charger first ( make sure it’s the right charger), then the battery. The red (positive) clamp is directly linked to the positive terminal and the black (negative) clamp is directly linked to the negative terminal.
Turn On the Charger:
Once everything is connected, I switch on the charger. Smart chargers will generally regulate the output of the charger according to the battery requirements.
Monitor the Charging Process:
I keep an eye on those indicator lights. For example, when it is indicated that charging is finished (i.e., a green light), I have the indication that it is time to unplug.
Disconnecting Safely:
I always turn off the charger before removing any clamps—negative first, then positive.
Reinstalling the Battery:
At last, I reinsert the battery into its home and establish tight connections.
Method 2: Jumpstarting Your Moped Battery
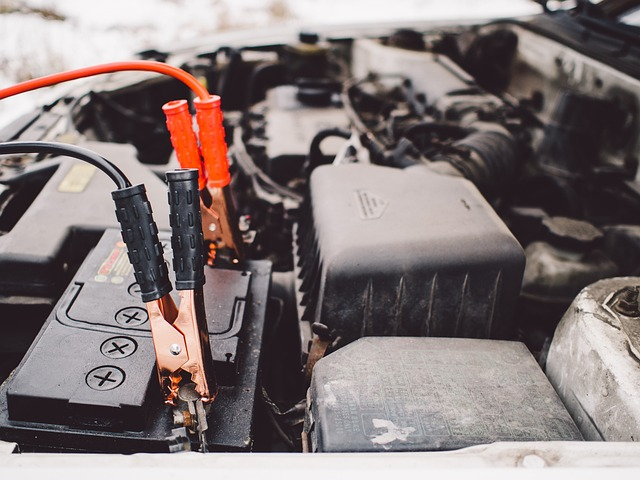
Whether you’ve rented a moped or have one of your own, if accidentally, things happen and you are stuck with a dead battery, in such cases, a jump start can be a lifesaver!
Here’s How I Do It:
Initially, I look for a donor vehicle, preferably another moped or scooter with an available charged battery. In case using a car battery, you have to be very careful as the car batteries are stronger. In any case, ensure that the donor’s battery voltage is higher than your moped’s.
I get the two vehicles as close as I can to allow the jumper cables between the two vehicles to make contact, but make sure do not touch each other.
For the cables to be connected, I attach one end of the red cable to the positive of my moped and the other to the positive of the donor car. I clip one end of the black cable to the negative of the donor vehicle and the other to an unpainted metal surface of my moped without direct contact with the dead battery.
Charging Process:
After that, I get in the donor vehicle, start it, and let it stay like that for a few seconds before attempting to start my moped. If everything goes well, my moped should start up.
Disconnecting Safely:
Once done, I safely detach the cables in reverse order, black cable first from the moped itself then from the donor car, and finally from the red cables.
Finally, I take a ride to help recharge my battery through normal operation.
Method 3: Push-Starting Your Moped

For those with manual transmission mopeds, push-starting can be a lifesaver when you’re in a pinch.
Step 1: If possible, get some help from friends or passersby to push.
Step 2: Then, position your moped on a flat surface with enough space to gain rolling momentum.
Step 3: Switch on the ignition but don’t start the engine starter motor yet.
Step 4: Once the moped starts, make sure to ride around for a while to help recharge the battery through normal operation, just like with jumpstarting.
Tips to Maintain Your Moped Battery
Planning to go around Waikiki but the moped’s battery is what you’re tensed about, you don’t have to worry! As a beginner, to make your moped function well as well as to extend the battery time of your moped, we have the following tips for you.
Regular Charging: I don’t like to keep the battery discharged for long; charging it often does not harm it. However, make sure to prevent overcharging as it may degrade the battery life.
Check Connections: Every now and then, make sure to inspect terminals for corrosion or loose connections—clean them up if needed!
Store Properly: When parking your moped for some time, ensure that it is fully charged and disconnect if you can.
Monitor Battery Health: If you see any problems or dimming lights, then it is time to take a look at the health of the battery.
Wrapping It Up
Charging your moped battery doesn’t have to be complicated! Using the methods we’ve mentioned – the smart charger, jump-starting from another vehicle, or push-starting – you’ll be able to get back on your bike quickly. Just don’t forget to check in on maintenance and periodically monitor the health of your battery so that you can ride without concern!
Don’t want to go through the hassle of thinking about maintaining your battery? Don’t worry, rent one of your favorite scooters from us and enjoy riding on the streets of Hawaii. Happy scooting!
Frequently Asked Questions
How do I know if my moped has fully charged?
Most smart chargers have indicator lights. If your charger turns green, it usually means the battery is fully charged, while red or orange means charging is in progress.
Why is my charger not showing any light?
The main reason for your charger not working could be that your charger broke down. If this happens, you won’t have any choice other than to get yourself a new charger.
Can I charge the battery while it’s still in the moped?
Some mopeds allow for onboard charging, but it’s best to remove the battery to prevent electrical damage. Always check your owner’s manual or manufacturer’s instructions for specific guidance if you have any confusion.
How long does it take to charge a moped battery?
Charging time depends on the battery and charger type but typically ranges from 4 to 12 hours. A fully discharged battery may take longer.